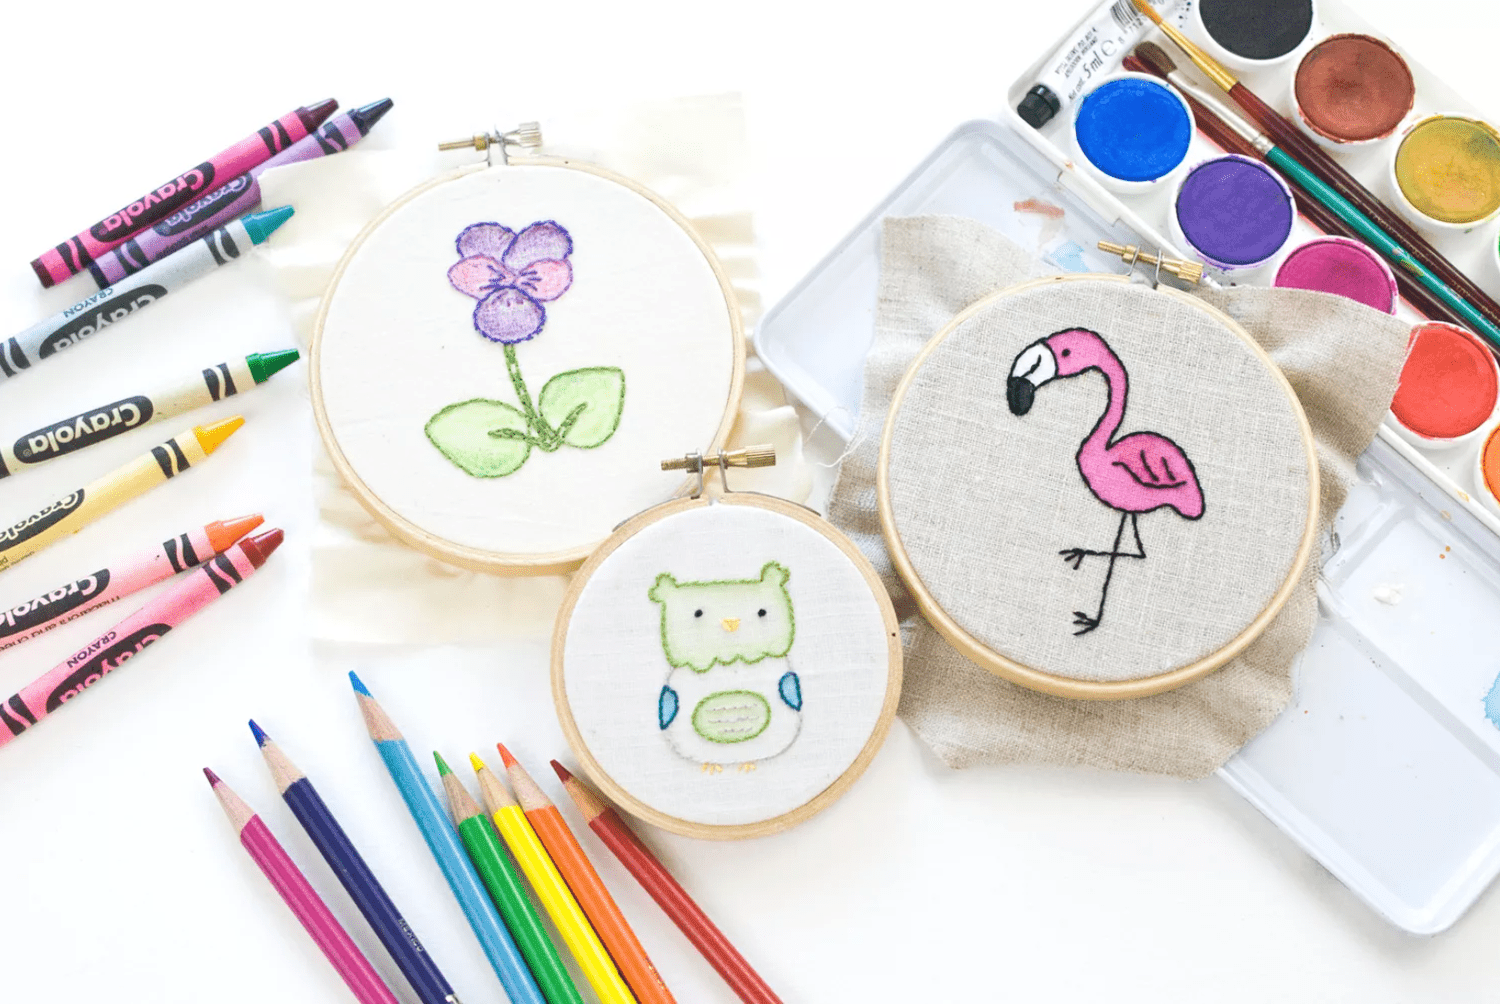
Embroidery Tinting with Color Pencils, Crayon, and Paint
When you are working with filling the embroidery area, you might consider filling stitches like the basic satin or long or short stitches. But there is another way to add color to your stitching that is known as embroidery tinting.
Here in this blog, we will talk about the embroidery tinting technique using color pencils, paint, and crayon. The aim is to fill the area by coloring the fabric behind the embroidery. This means that we have to embroider the outline by adding some details.
But tinting is not coloring inside the lines only; you will see many artists using tinting to create eye-catching backgrounds, accents, and borders for their embroidery work.
Although there are numerous ways for tinting, the most common is crayon tinting. We will also discuss a few other methods.
In this post, you’ll learn a few methods to try.
With all the different techniques and versions of stitching, it is always good to add color before you start your stitching process. Although you can add tinting once after embroidering your work, it will be hard to color the lines without getting marks on your threads.
Now let’s talk about the tinting methods.
Crayon Tinting
Using crayons for tinting is the most common technique. It is simple and easy to learn, and most people use this technique.
Crayons produce a darker color, but you use them gently, you can also create a lighter tint. Similar to coloring with crayons on papers, varying the amount of layering and pressure can create some cool shading designs.
Not only is it fun using it with modern and vintage designs, but it also gives your embroidery dimension and texture.
How to Tint With Crayon
To tint your embroidery with a crayon:
- Start off by transferring your design to the fabric.
- Use a regular sharp pencil, as it won’t be affected by ironing and neither requires water.
- Place the fabric in an embroidery hoop.
It will press the fabric’s back against a flat surface. You can color the design as you like. Use good quality crayons to achieve the finest results. Try to fill the edges with a darker color as it is a good technique to add dimension.
While working, don’t press too hard. Better to add color layers than to have too much excessive color that you erase. Be cautious and color evenly without causing color streaks.
Once you are finished, place a strap fabric piece over the coloring. Iron the paper at a high setting. This will remove the excess wax and heat-set the coloring. Embroider your work as you desire.
Color Pencil Tinting
Color pencil tinting is similar to crayon tinting. However, the final output is much softer and works fine to blend colors.
This technique is good for embroidered items that you won’t wash as color is less colorfast than other tinting techniques.
How To Do Tinting With Color Pencil
To color pencil tint, follow the basic crayon tinting guidelines to color and transfer.
It is useful to hoop the fabric upside down. This way, you can color the fabric’s flat wrong side against the table.
You can then blend and color the fabric. To blend the colors, you can rub the coloring with a cotton swab.
Same as crayons, different quality pencils will give different outcomes. You can also use watercolor pencils brushing a small portion of water over the coloring.
To make the coloring more attractive and to preserve it, brush a thin layer of textiles over the colored areas. Follow the manual instructions.
Place a scrap fabric piece over the embroidery, and iron it to set the color. And add your embroidery.
Paint Tinting
Paints come in a wide variety giving you the option to choose for tinting with ease. Watercolor paint is beautiful and light.
You might need to create a stencil with a freezer paper to make a crisp line as the color usually bleeds. The watercolor creates a beautiful background, rather than a fill. You can use it for starscapes, landscapes, and more.
Fabrics and acrylic paints have a more robust color. They dry fast, and you can blend and mix the color if you work quickly. The paint stays at the surface. To paint crisp lines at the edges of where your embroidery will go, work with a small brush.
How To Do Paint Tinting
Follow the basic crayon tinting guidelines to transfer. You can use acrylic or other opaque paint material as they cover any lines within.
Put down the fabric in a hoop the same way you do for embroidery. It will play the role of a stretched canvas. Paint the design the way you like.
If you are using opaque paints or other acrylic paints, they will cover almost every detail line within that area. You can either freehand the lines or retrace them or paint around the lines.
Place a fabric piece over the paint once it has dried and then iron it. Embroider your paint design. Some paints are dry, flexible, and soft. However, acrylic paint dries hard.
Get the needles through carefully, if you stitch through the painted area as making excess holes will be seen in the paint.
Conclusion
This is all you may need to know about embroidering tinting with crayons, paint, and color pencils. If you have any questions related to this topic or anything related to custom embroidery digitizing, feel free to reach out to us at Migdigitizing. We will be happy to assist you.
Also Read:
What is Exactly Rabbit? The Top Alternative of this Video Streaming Platform
A Comprehensive Guide On iPad Air 2 Screen Replacement


Post Comment